
Mornin’ everybody. I get a steady stream of questions about tethering into Lightroom (that’s where you connect your camera directly to your computer and when you shoot your images appear really large on screen, instead of seeing them on the tiny 3″ monitor on the back of your camera), so this morning I thought I’d quickly go through seven things you’ll probably want to know. Here goes:
- Not every camera can tether to Lightroom
Here’s a list from Adobe of the cameras it does support for tethering. It’s pretty much Canon and Nikon cameras, with a few Leica camera models (the tethering in Lightroom requires camera manufacturers to provide Adobe with support for tethering to their cameras, so it’s not something Adobe can just decide to do on their own without their ). - You can “super shrink” or hide the Tether bar (the heads up display)
If you hold the Option key (PC: Alt key) and click on the little “x” in the top right corner of the bar, it shrink the bar down to just a shutter button (yes, you can fire your camera’s shutter with that button). If you want to hide the bar altogether (but keep the tethering still active), press Command-T (PC: Ctrl-T). - That Table that holds my laptop is from Tethertools.com
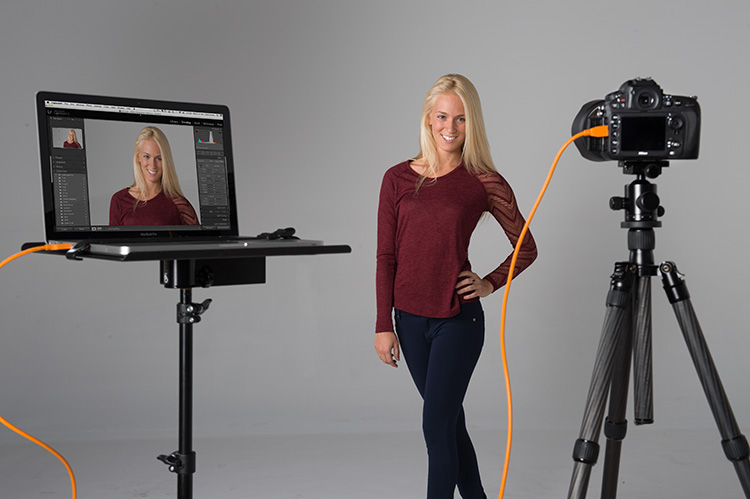
I always get asked where I got that table. There’s a company called Tethertools that does nothing but create accessories for people who tether, like the table; an optional little slot under the table for holding an external hard drive; and (my favorite) a nicely designed pop-out drink holder (it’s handier than you’d think). - How to recover from a stall
At some point, without warning, your tethering will just stop. It’s not your fault, but you will have to know how to recover from a “stall.” First, make sure you camera is awake. If it does to sleep to protect the battery life of the camera, it puts tethering to sleep, too. If waking it doesn’t work — turn the camera on/off. If that doesn’t work, turn off Lightroom’s tethering (choose Stop Tethered Capture from the File menu), and then turn it back on in the same place. Lastly, unplug and replug the USB cable from your camera and your laptop. One of those will usually do the trick and get you back up and running. - Canon’s write a copy to the memory card in the camera. Nikon’s don’t.
It’s just the way they’re set up by the manufacturer — it’s not Adobe showing a preference. On my 5D Mark III it writes to the compact flash card in the camera and I dig that because it gives me an automatic backup as I shoot, which is nice. NOTE: if you have trouble tethering to Nikon — try popping the card out of the camera. - You might already have the cable you need to tether
Nearly all cameras ship with the exact cable you need to tether — it’s simply a USB cable with a mini USB on one end (that connects to the mini-USB port on your camera) and a regular USB to plug into your computer. So, go look in the camera box (it’s in your closet) to see if you kept it (you probably did). If you didn’t, you can buy a USB cable — just ask for one with a mini on one end, and a regular USB on the other. The one I use (the long orange cable seen above), is from tethertools. It’s orange so you can see it easier in dark studio. - Once tethered, you can do live client proofing to an iPad
You can hand your client an iPad and have them see images from your shoot live on the iPad as you’re shooting (btw: clients super love this!). Not only that — they can see the shoot live on the Web, even if they’re not there (or, if they are there, they can share the shoot with a colleague or friend off site. I had a short video that explains the entire process below.
Hope you find that helpful, and hope it inspires you to give tethering a try. Once you do, you can’t imagine not tethering (yes, it’s that good!).
Best,
-Scott
The post 7 Things You Need To Know About Tethering In Lightroom appeared first on Scott Kelby's Photoshop Insider.
from Scott Kelby's Photoshop Insider http://ift.tt/1q2UcH9
via IFTTT
No comments:
Post a Comment