
Hey hey! Welcome to #TravelTuesday right here on Scott Kelby’s Photoshop Insider. I’m Dave Williams, I’m right here every Tuesday, and today I’m coming at you with a quick fire Photoshop tip all about how to sharpen without hitting that Sharpen button!
This technique works across the board, from landscapes to portraits. You can use it to make your images more visually impactive and it’s a clever little technique which improves the contrast across the entire range of tones, particularly within the smaller detailed elements such as hair on a portrait or plants in a landscape, and it enhances the textures and of course the sharpness of the picture.
The reason this technique should be considered in many cases rather than hitting that Sharpen button is because the Sharpen algorithm samples pixels and looks for what it considers an edge, then applies some contrast to those edge pixels. This technique uses a different method of Contrast specific Blend Modes to quickly and easily enhance detail in your shot by using the actual edges rather than guessing what’s an edge. Here’s how it’s done.

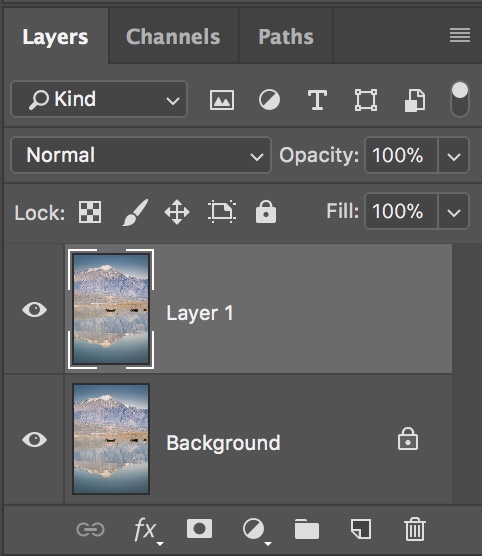
Open your image and duplicate the layer with CMD + J (Windows: CTRL + J)
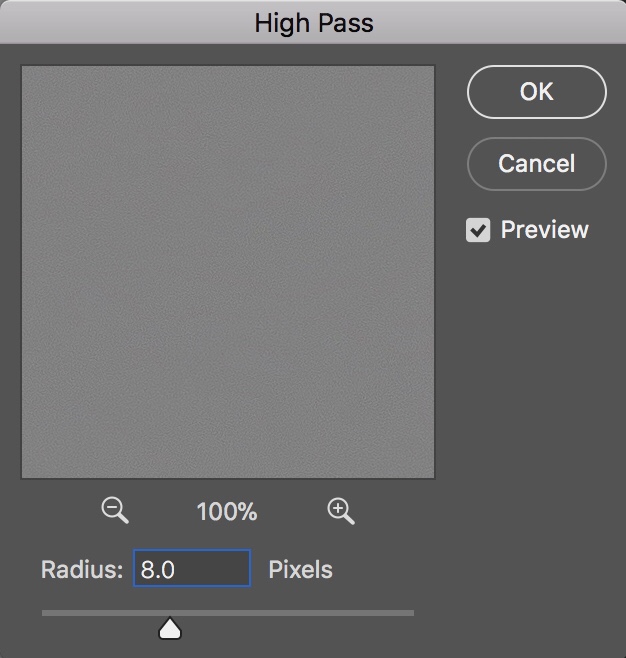
Next, apply the High Pass Filter found in the menu Filter – Other – High Pass. Within this option select a Radius value which gives you a clear contour on edge elements in your shot. It’s usually between 1 and 6 px.
Now we need to set the Blend Mode to Overlay using the drop down in the Layers Palette.

That’s it! I told you it was easy! The differences between using the Sharpen Filter and by using this technique give you in most cases a fantastic result, bringing your image to life!
Much love
Dave
The post Sharpening with a High Pass appeared first on Scott Kelby's Photoshop Insider.
from Scott Kelby's Photoshop Insider https://ift.tt/2GPp2jO
via IFTTT
No comments:
Post a Comment